Blog / Workflow
WorkflowHow to Make a Faceless Narrated Video Without Filming Anything
You do not need a camera, a studio, a presenter or a voice actor to publish a narrated video. You need a script worth listening to, one picture per beat, and a way to make the pictures change at the right moment. This is the whole workflow, in the order that actually works.
Most people attempt this in the wrong order. They collect images first — scraping stock sites, generating a folder of pictures they like — and then try to write narration that fits what they happened to gather. The result is a video that wanders: the voice describes something the picture only vaguely supports, and the whole thing feels like a slideshow with commentary bolted on.
The fix is to reverse it. The script comes first, and everything else is derived from it. Once you have the words, the number of images, the content of each one and the timing of every cut all follow automatically.
Why the script has to come first
A narrated video has exactly one continuous thread: the voice. The viewer follows the sentence they are hearing, not the picture they are looking at. The picture's job is to be the right thing to be looking at while that sentence is spoken.
That means the images are subordinate to the script — and if you build them first, you have made the subordinate part the constraint. Every weak sentence in your final narration will be a sentence you wrote to justify a picture you already had.
Write until the story is finished. Then count the shots. Never pick the number of shots first.
This also settles the question people ask first: how long should it be? The honest answer is that length is an output, not an input. A topic that deserves ninety seconds and gets stretched to five minutes is padded, and the padding is audible. Write it properly, then measure it.
Step by step
-
Write the script as continuous prose
Not bullet points, not a list of facts — the actual words, in the order they will be spoken. Read it aloud. Anything you stumble over, rewrite; you are writing for the ear, and the ear will not tolerate a clause it cannot hold in memory.
Open on something specific. "Today we're going to look at geothermal energy" is not a hook — it is an announcement that a hook is coming. Start with the moment, the number, or the contradiction that made the topic worth covering in the first place.
-
Cut the script into beats
Go through the finished script and mark every place where the subject shifts — a new idea, a turn in the argument, a change of scene. Each of those becomes one shot. A beat can be one sentence or four; what matters is that it is a single thought, because the picture has to hold for the whole of it.
Cutting when the story turns is the only rhythm a still-image video has. Cut on a fixed timer instead and you get a metronome, which viewers feel as restlessness even if they cannot name it.
-
Describe one still image per beat
For each beat, write what the viewer should be looking at. The single most common mistake here is describing motion — "the camera drifts across the valley", "she turns to face the door". A still cannot drift or turn. Every word spent on movement is a word not spent on what the frame actually contains.
Instead, describe a frozen moment that already carries tension: a gesture caught mid-action, weather, an unusual vantage point, a face at the instant before it reacts. And vary the framing between shots — wide, close, overhead — because cutting between two similar compositions reads as a glitch rather than a cut.
-
Record the narration before you touch the images
This is the step that makes everything else easy, and it is the one people skip. Once the voice-over exists as an audio file, every shot has a known duration — not an estimate, a measurement. Shot four is 6.2 seconds long because that is how long it takes to say shot four's line.
Recording last, by contrast, means you have already guessed the timings and now have to fight the audio into them.
-
Hold each image for exactly its own line
No easing, no fixed four-second rule, no manual nudging on a timeline. Each picture appears when its sentence begins and is replaced when the sentence ends. Because the durations came from the recording, the voice and the picture cannot drift apart — not at shot five, and not at shot fifty.
The mistakes that make a faceless video feel cheap
| Mistake | What the viewer feels | Fix |
|---|---|---|
| Every image held for the same 4 seconds | Restless, mechanical | Let each line's length set its own shot |
| Narration written to fit existing images | Rambling, unfocused | Script first, images second |
| Shots that assume camera movement | Flat, disappointing | Describe a frozen moment with tension |
| Same framing shot after shot | Monotonous | Alternate wide, close and unusual angles |
| Opening with "in this video we'll…" | Skip | Open on the most specific thing you have |
| A fixed shot count decided up front | Padded or truncated | Let the story decide how many beats it has |
Should the images move?
A slow push into the centre of a still — the Ken Burns effect — is the one motion worth considering, and it is genuinely optional. It helps when your images are detailed and your shots are long, because a completely frozen frame held for eight seconds starts to feel like a technical fault. It hurts when shots are short, because the movement never has time to read as deliberate.
One detail matters if you do use it: the zoom should be defined as total magnification across the shot, not as a fixed step per frame. Since your shot lengths come from the narration and therefore vary, a fixed per-frame step crawls on a two-second shot and tears across a twenty-second one. Same setting, wildly different results — which is why hand-tuning zoom on a per-shot basis is a trap.
Subtitles are not optional any more
A large share of viewers watch muted, especially on a phone in public. For a faceless video the voice carries everything, so muted playback without captions is not a degraded experience — it is no experience at all.
The good news is that you already have the two things captions require: the exact text of each line, and the exact duration of the recording that speaks it. That is enough to place captions without transcribing anything. How to write subtitles people actually read covers the timing and styling in detail.
The short version
- Script first. Images and timing are both derived from it.
- One shot per beat of the story — never a fixed count.
- Describe frozen moments, not camera moves.
- Record the voice before building anything visual.
- Hold each image for exactly the length of its own line.
- Add captions; a large share of your audience is watching muted.
Frequently asked questions
How long should a faceless narrated video be?
As long as the story needs. A fixed target forces you either to pad with filler or to cut the ending short, and both are obvious to a viewer. Write the script until the story is finished, then measure the recording — that is your real duration.
How many images does a narrated video need?
One per beat, not one per fixed interval. A moment worth dwelling on gets one long shot; a rapid sequence gets several short ones. Cutting when the story turns is what gives a still-image video its rhythm.
Do I need video editing software for this?
Not for a still-image slideshow. The only timing decision is how long each image stays on screen, and the narration already answers that. A timeline editor is designed for footage that moves, and most of its toolset does nothing for stills.
Can I use my own voice instead of a synthetic one?
Yes, and the workflow does not change. Record each beat as its own audio file so every shot still has a measured duration. The one thing to avoid is a single continuous recording of the whole script — then you are back to guessing where each cut belongs.
What if I change one line after everything is built?
Re-record only that line. Its shot gets a new duration and everything after it shifts by the difference, which is automatic if your timings come from the audio rather than from a hand-built timeline. This is the practical reason to keep one audio file per shot rather than one for the whole video.
Build the whole thing on your own machine
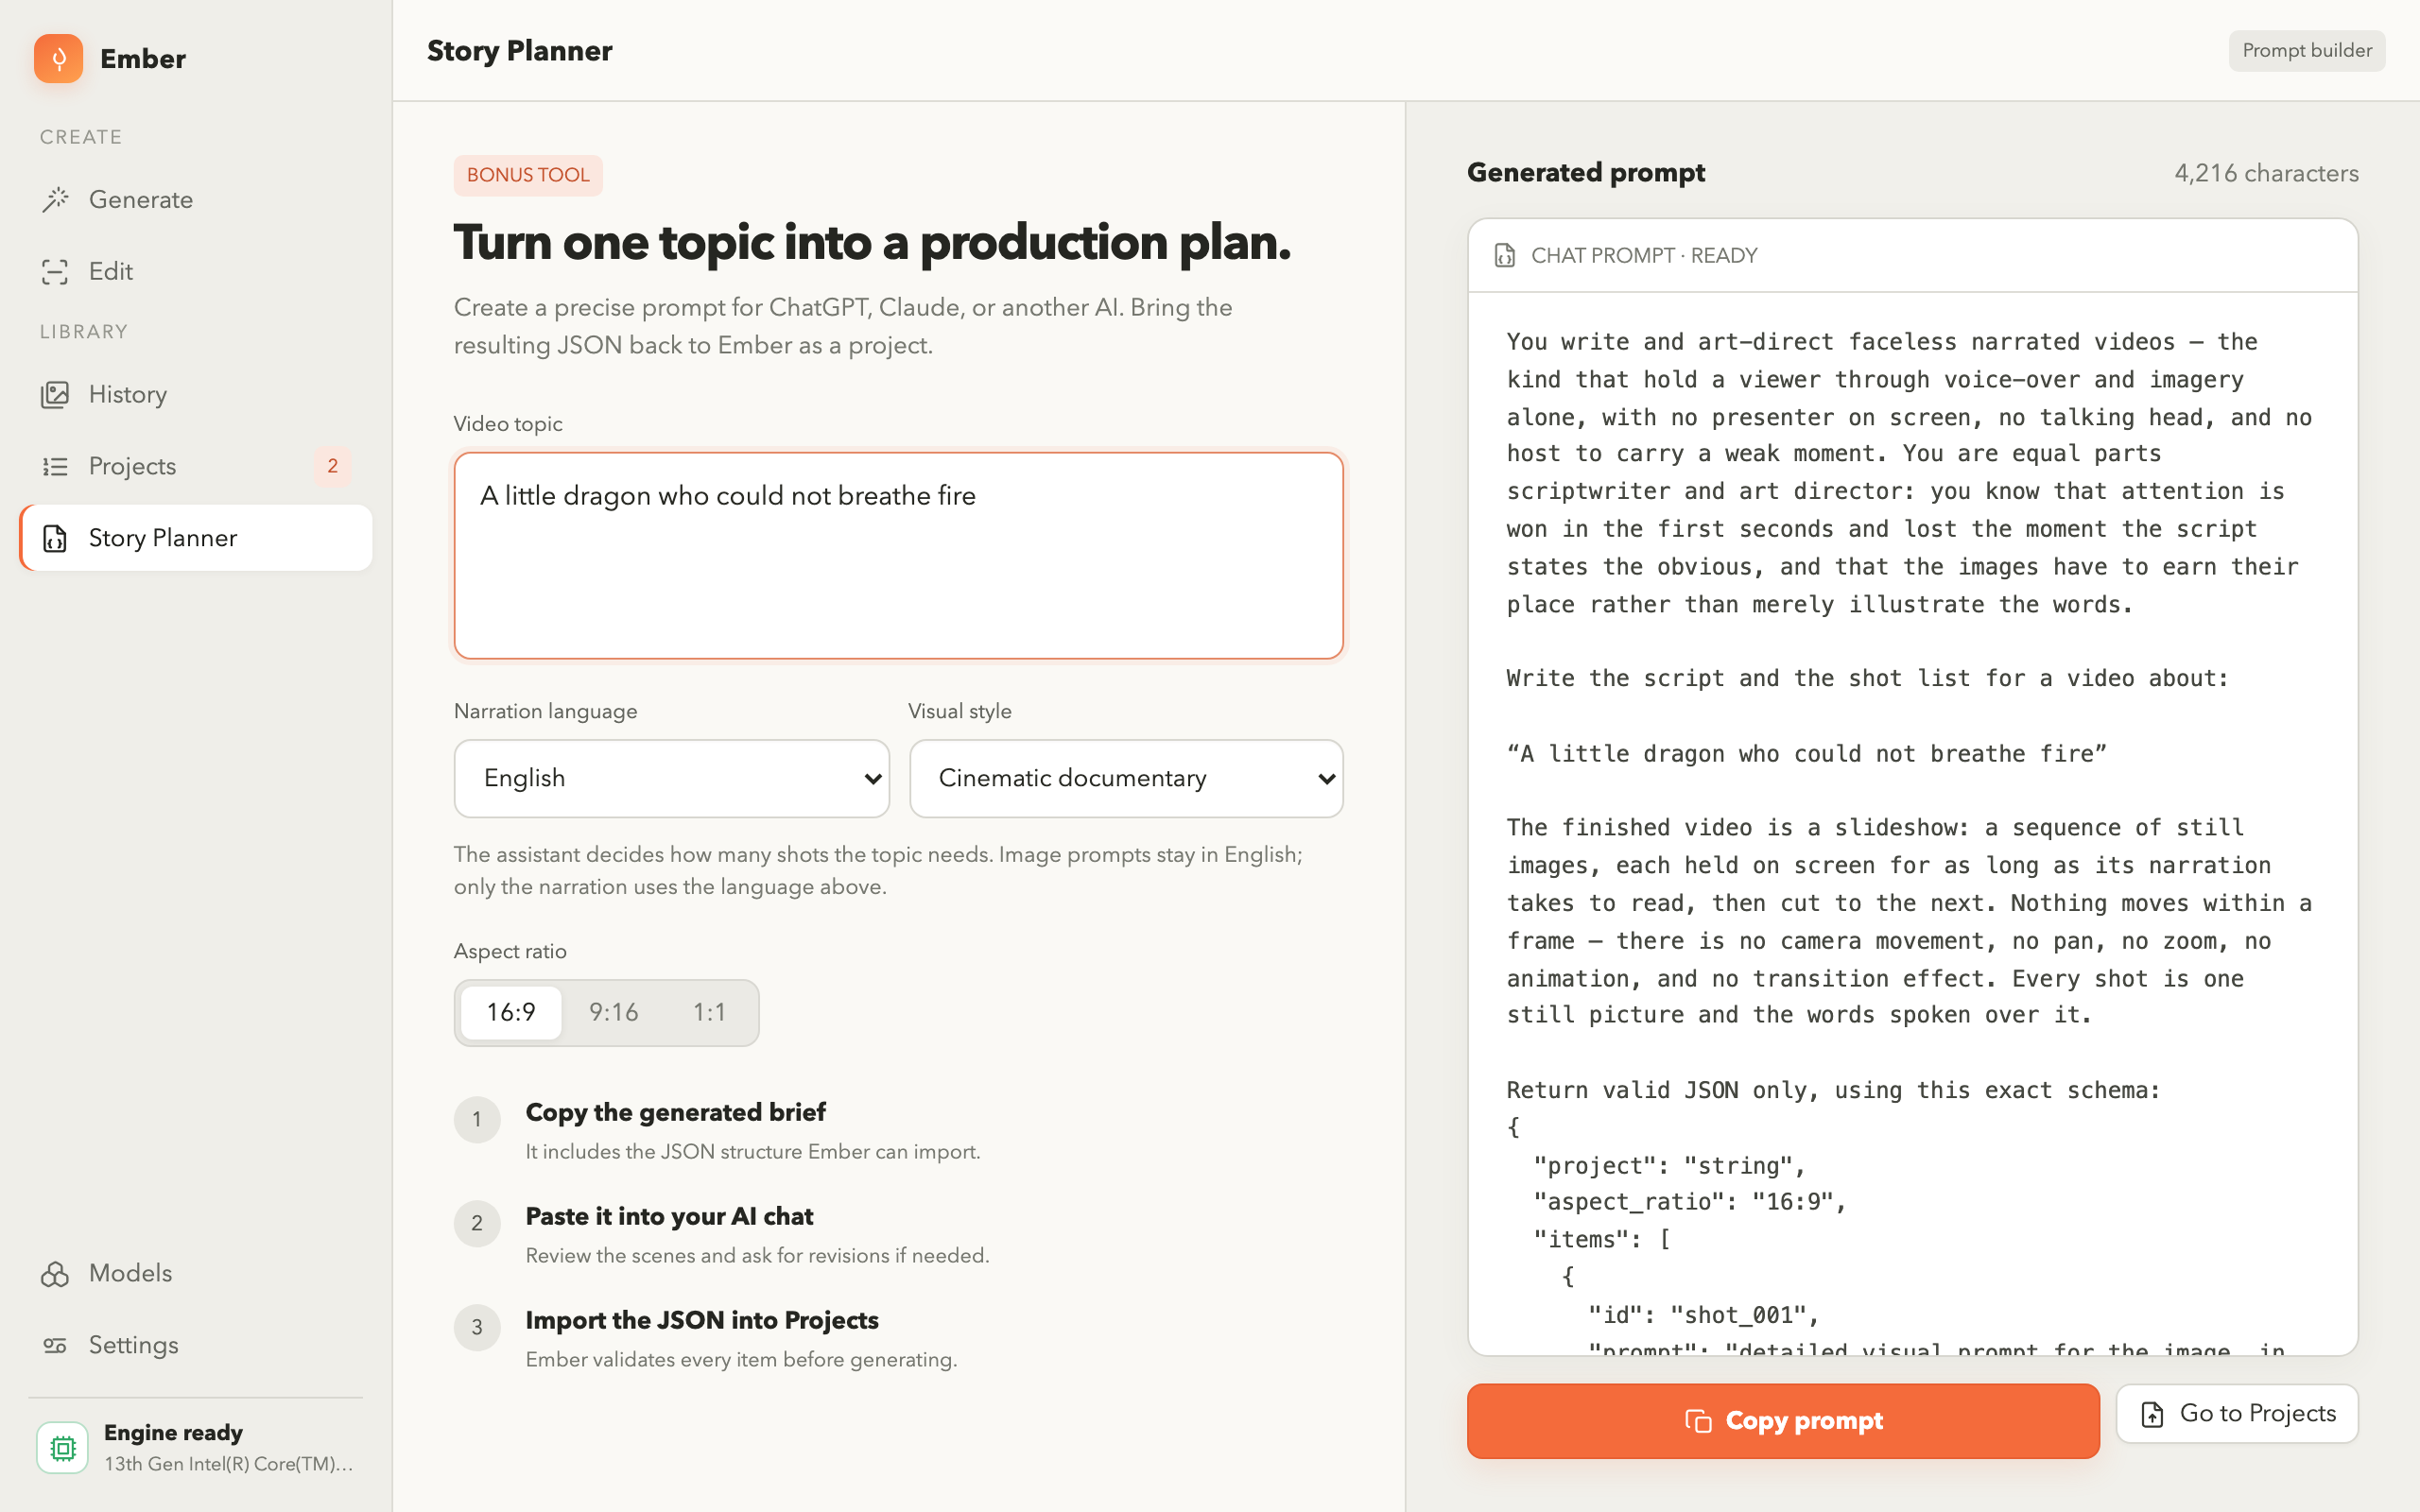
Ember turns a topic into a shot-by-shot plan, generates every image locally, records the narration, and holds each picture for exactly as long as its own line takes to say.